


Part of the diorama focuses around an open fire escape, in which a main character stands, so I know I have to build and populate part of a corridor that leads to said door.
There will be two details, a fire extinguisher and a radiator. The latter of which I’m scratchbuilding.
I built it with three pieces:
- 2mm styrene rod
- 2mm aluminium tube
- 3mm styrene tube
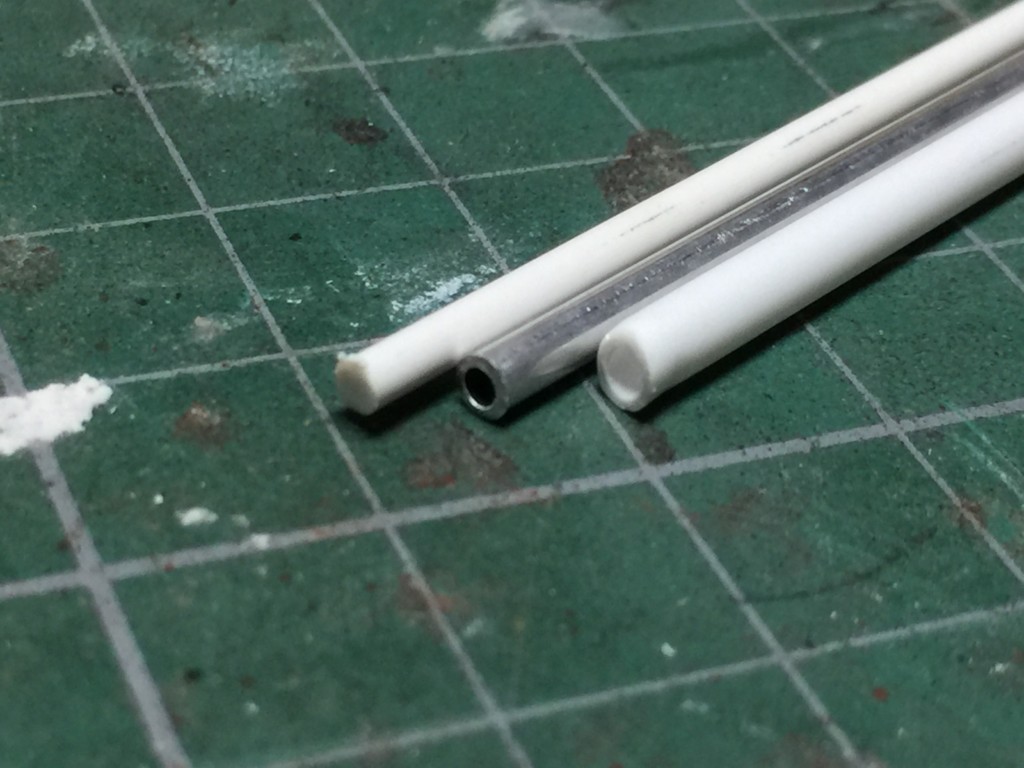 The styrene tube will form connections and larger piping, the aluminium tube acting as the main piping, whilst the rod is forming the radiator itself.
One thing that makes life infinitely easier building something like this is a multi-angle cutter. Here’s mine:
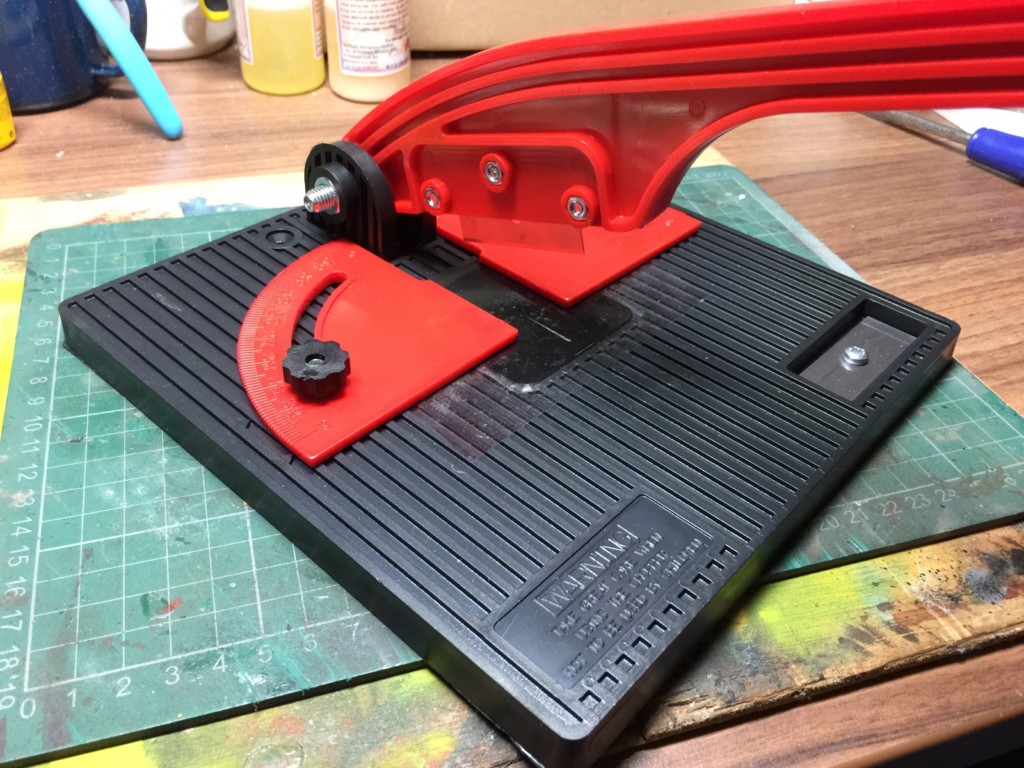
It cost me £10 on Amazon. These are an essential for the scratchbuilder. As it’s title suggests, it can cut a variety of angles and it’s precision can’t be matched with the hobby knife.
So with a little careful bending (thin aluminium tube is keen to crush and kink making tight angles, care is needed) and cutting, I ended up with a 1:35 radiator:
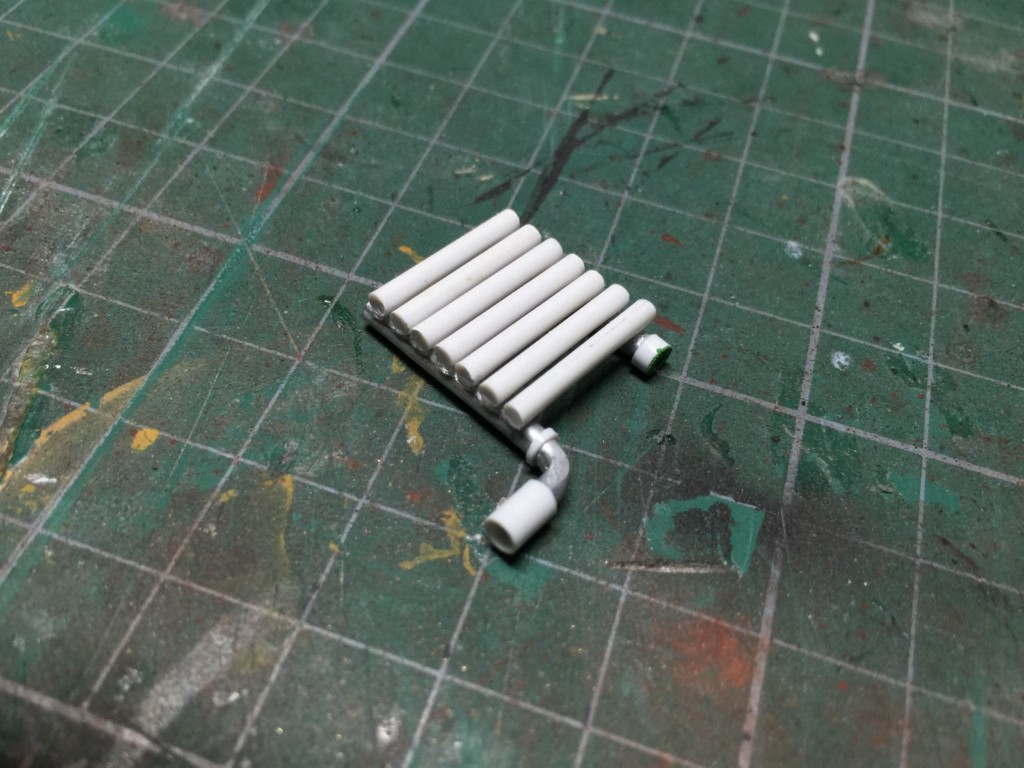
There’s still a lot of filing and sanding to get the radiator into shape, including filling the gaps in the radiator’s form, but this is mostly it. It’s easy to make and took little time with the cutter and good, fine pliers.
On another note, here is the strapping for the ducting – to which the cutter made a hard job easy:

In other news, I’ve had to completely change the figures in the piece because they were just too small. I started out to build in 28mm scale but I’ve quickly found myself in a 1:35 world. Fortunately the models I’ve found are not only superior but also have made the story better too.
More soon.
by on January 8, 2017


