


So, after some careful consideration (finances, time etc…) I finally sat down to begin planning my first ever diorama.
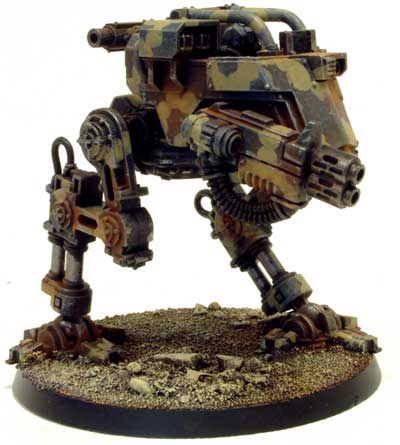
It began with an image. I am a big fan of using Games Workshop and Forgeworld stuff because the quality of the plastic is excellent. The designs are intricate and, in regards to the Imperial Guard, very realistic. From this, I knew I wanted to include a Sentinel. An Elysian Drop Sentinel, to be exact, because I really like the design.
So after selecting this, I designed the groundwork on some scrap paper and ordered the materials I needed. You never want to order materials you don’t need, so it was only logical to me that I ordered after I designed the diorama and not before. Of course this doesn’t aid you in the design process as I know some folk get inspired by finding materials. Which ever works best for you is the way to go.
Given that I quit this hobby a number of years ago I had to start from the ground up and so I ordered a bunch of tools that I would need to get started. My list included things like:
– Brushes (Kolinsky, Army Painter)
– Work lamp (Lidl 5-diopter LED)
– Sharp craft knife (Silverline)
– Side cutters (Citadel)
– Needle files (Silverline)
– Sculpting tools (Schellert Tool – more on that in another post)
I bought quite a few other bits too, but the above are the must have tools.
The bulk of my orders came from materials… it isn’t cheap! Things like insulation foam, balsa wood, glues, fillers, PAINTS, clear casting resin, gloss, primers… the list is endless. Fortunately I am a pretty good bargain hunter and I managed to set myself up with a fully featured workshop with little money.
Anyway, the first job I got to working on was the base. I made the decision quite early on that I wanted a round base with a routed profile edge (my next diorama will most definitely have corners!). I once worked as part of a renovation team so I had access to a few materials, tools and a workspace that could allow me to make such a base for free. I took advantage of that straight away. I made a few bases whilst I was there, but I only ended up using the one. I can say that cutting out a large (30cm diameter) disc from MDF with a jigsaw is no easy feat to get bang on. I got close… but to be honest I also knew that you wouldn’t really be able to tell it wasn’t a perfect circle once the diorama got underway.
Whilst waiting for some of the more important parts of my online orders to arrive I sculpted the insulation foam [extruded styrofoam] (make sure to buy the right stuff, not polystyrene – Antenocitis Workshop sell it).
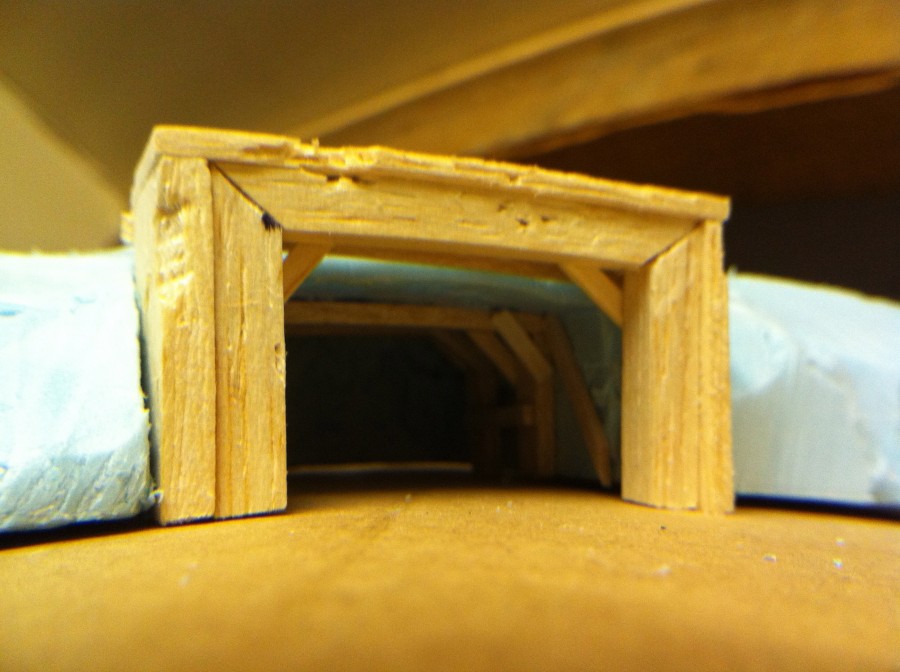
Once done I cut out a hole for the bunker. For which I then made the wooden structure, both inside and out:

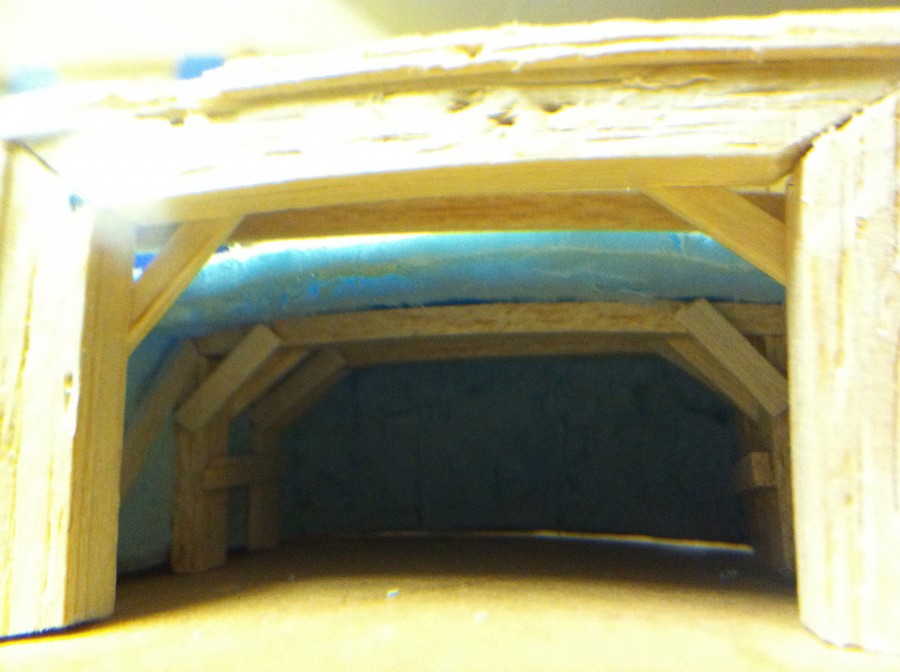
Using balsa cement is was all glued together. I aged and distressed the balsa on the outside of the bunker by using a toothpick. Balsa is so soft and light that you really don’t need anything more sharp than that. I used the pick the etch grain into the wood and also remove chunks and to add blistered bullet holes as if it had seen battle a few times. The result speaks for itself:
All I had to do now was wait for the other bits and pieces to arrive!
by on December 29, 2011


