


In the original sketches I had made no plans to add fences – I also only intended to add a small amount of curled barbed wire atop the bunker.
That kind of all changed when I got to actually making the diorama. It became quickly apparent I would need something more… so I added some fences.
Using the sieve I bought at the local pound shop, I cut it up and made adequately sized fence lengths (and heights!). Using more balsa from the assorted bag, I found some lengths that could pass as good sized posts.
Before I fixed the fence and posts together, I drilled a straight through hole -using a pin vice – in the top of the posts to facilitate the barbed wire.
Using small cuttings (1cm length) of craft wire I bent them in half to create little nail tacks. It’s these that I used to pin the fences to the posts.
Making barbed wire is pretty easy… I thought. It’s just a long process – well, if you want it to look good. This was my process:
1. Cut two long lengths of craft wire (I mean looong)
2. Using a bench vice, pinch two ends making it easy for you to twist the lengths together.
3. Start twisting the two lengths together, leaving a smallish loop every 2cm or so.
4. Once done, cut several 2cm lengths of wire.
5. In each small loop you left push the 2cm length of wire through and fold it around creating a barb. Do this until you have all loops filled… VIOLA!
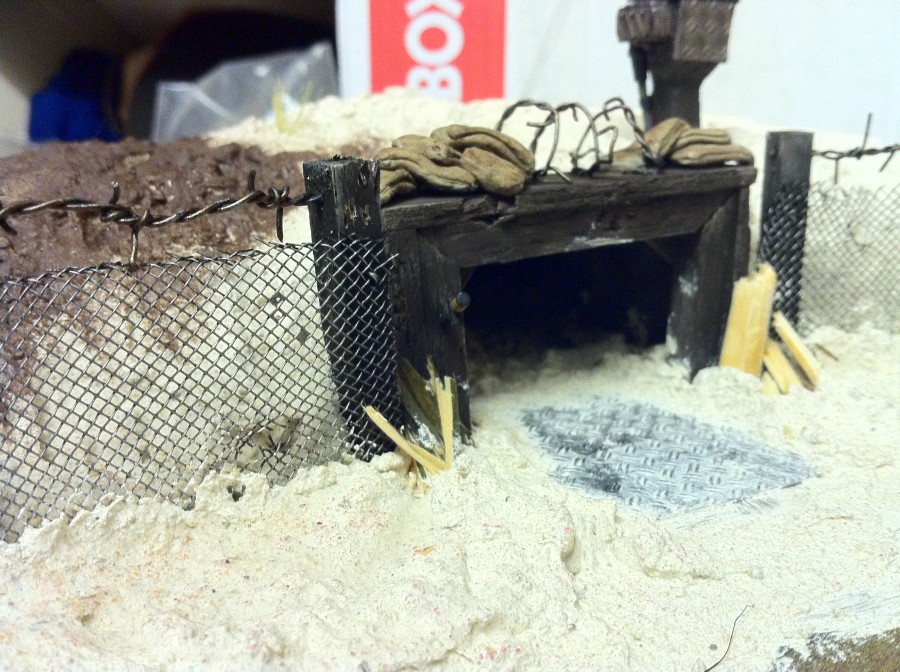
As can be seen above, the effect is very satisfying. The curled barb wire is made in the exact same way, the only addition being you wrap it around a screwdriver creating the curled effect.
Once I finished the wire I cut it to the right lengths (the distance between each post) and then pushed it through the small holes I drilled into each post earlier. They were all then superglued into place.
To finish, I used a screwdriver to push holes and tears into the fence and roughen the top edge – creating a battle damaged and worn look.
Before I glued anything to the base (including the power conduit) I painted them (to a degree). Some things are just so much easier to paint with the rest of the diorama getting in the way.
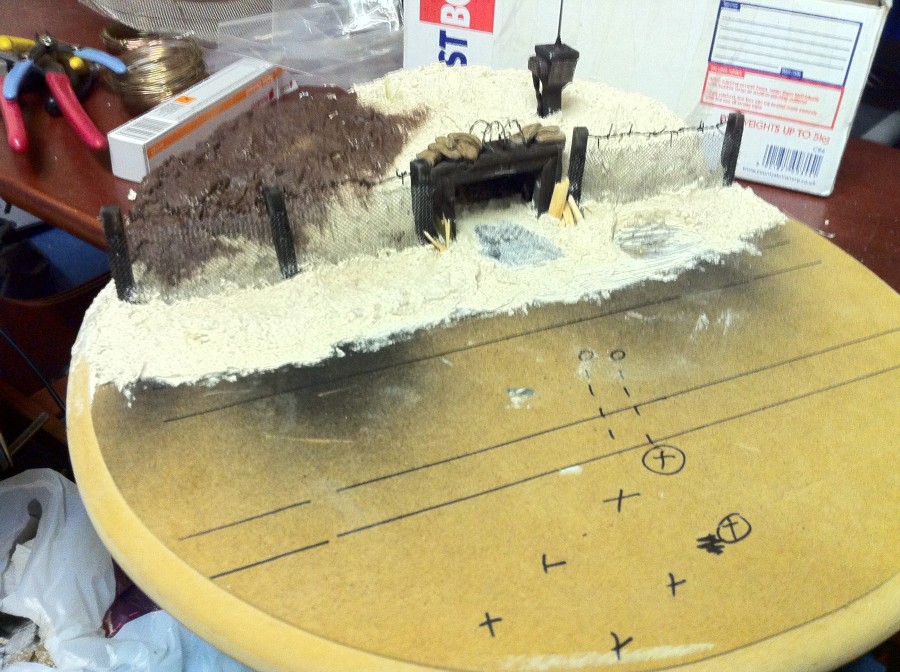
Each fence post had it’s placement on the MDF base drilled out so I could then hot glue them in making it a solid structure. A textured mix of sand, filler, PVA glue and course ballast was mixed to create the groundwork for the top half of the diorama. [I noted the moment I finished laying it all down that I should have mix it with the suited acrylic paint first. Should any part chip off, then, it would not expose the white underneath. I took steps later on to ensure that wouldn’t happen though]
The last thing I did before I called it a night was map out the rest of the diorama by using a trusty Sharpie!
by on January 6, 2012


