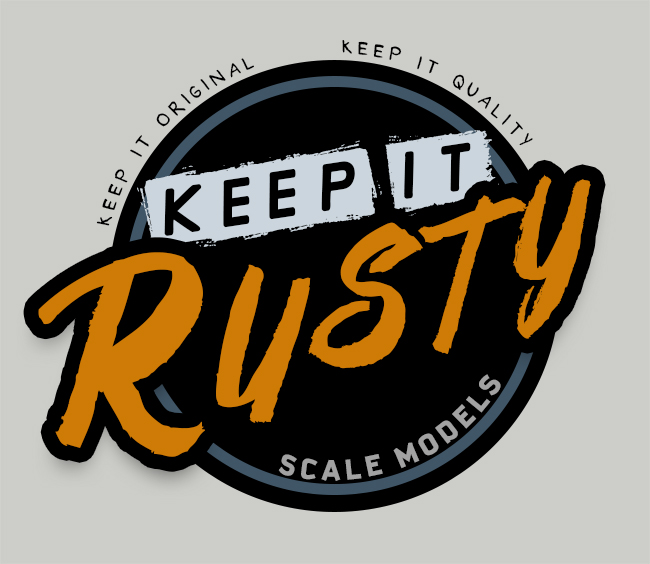


The Sentinel is about… 85% done here.
I used Model Masterclass Vol 1 extensively during the painting process as I am literally zero-percent experienced when it comes to painting – models as well as everything else!
By this time I had taken the plunge and ordered myself an airbrush and compressor. I have the Sparmax SP35 (basically the Iwata HP-CS) and the AS-196 twin cylinder compressor with 3 litre air tank. Together they cost £135, which I found very reasonable. (Harder & Steenbeck have since kindly taken very good care of me, so I am a proud owner of an Infinity 2-in-1 airbrush now).
The following points from 2 through 5 were done using an airbrush.
This is the general list I printed for myself when painting:
- Undercoat Chaos Black
- First base layer of tin bitz, then Boltgun Metal, then highlights of Mithril Silver.
- Satin varnish (purity seal) in thin coats.
- A number of thin coats of hairspray
- Patchy coat of Desert Yellow/Camo Green mix.
- Leave to touch dry, then using a moist & warm brush rub away the coat (chipped effect)
- Sponge Charadon Granite on carefully to further enhance the worn edges.
- Drybrush the engine with Boltgun Metal.
- Use pencil graphite on edges for metal sheen
Once that step was done the model was left overnight to dry fully.
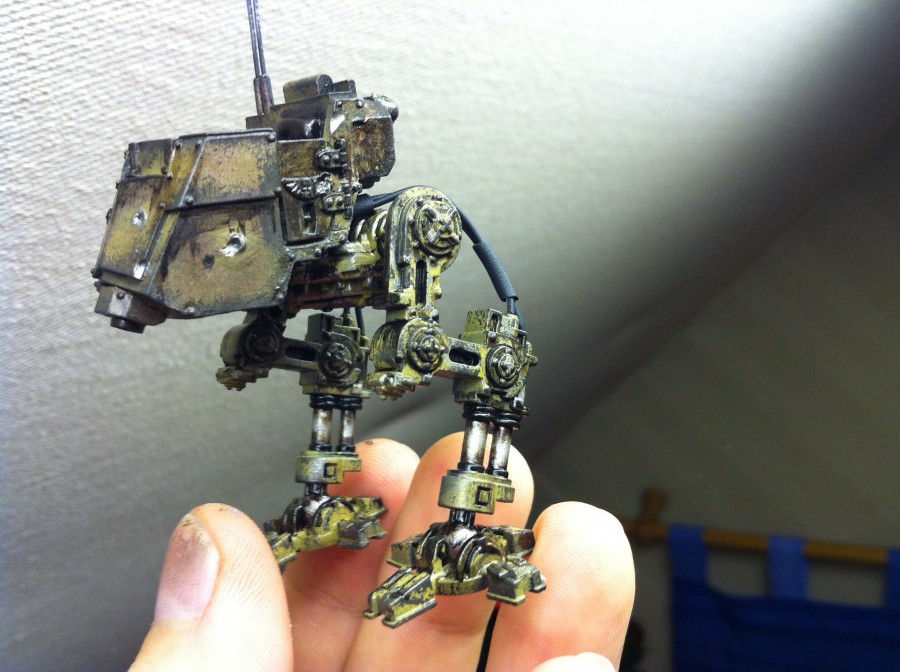
The next day I airbrushed on a coat of Johnson’s Klear (well… the new Klear/Pledge Multi-Surface Wax stuff). This gave it a very nice sheen and aids the weathering process.Using a thinned brown and black ink wash (thinned with Klear and water) I washed around all the joints and moving parts, imitating a very realistic oil and grease. Thin layers that are built up slowly are DEFINITELY more effective than one thick layer. To begin with I was a little disheartened that the effect wasn’t immediate. Of course, that was my n00b impatience shining through, so I stuck with it and the results speak for themselves.
On all the rivets and other recessed areas I added a thinned (white spirit) mix of brown and black oil paint. I dried these on a very low setting of my heatgun (hairdryer temp) to speed up the drying process. After a couple of minutes I blended in the oil paint to the surroundings, making it seem like it’s streaked and spread. It’s definition that shows the details, and it’s dark on light that does that well.
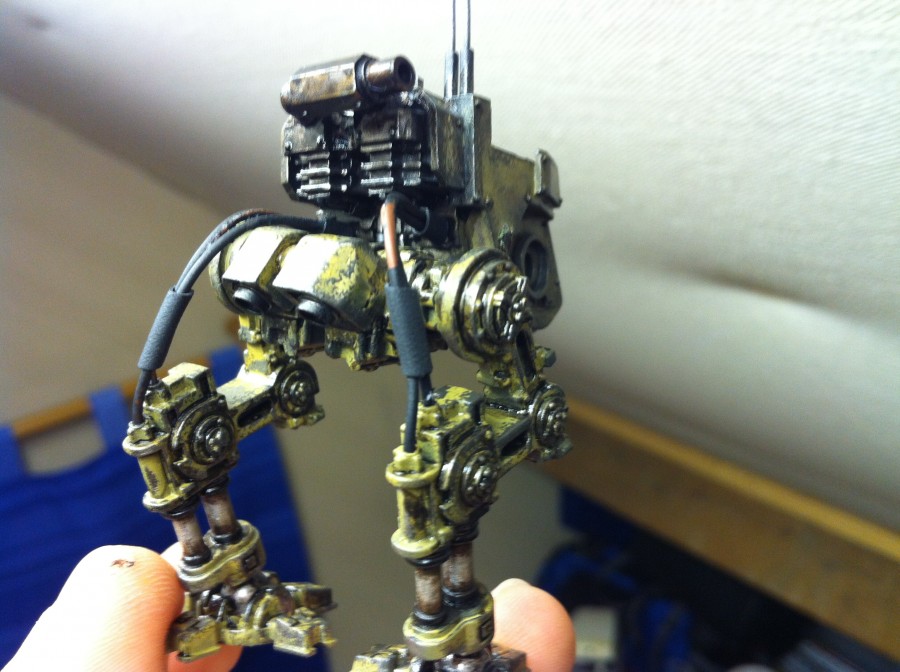
On the engine I used a variety of techniques, most experimental, between the layers to best imitate the build up of grime, grease, oil and fuel. These layers consisted of more inks, oil paints, Klear, weathering powders and washes.
Smaller details like the bullet holes, rust and written details (Micron 005 pen) were left until last.

by on January 19, 2012


