


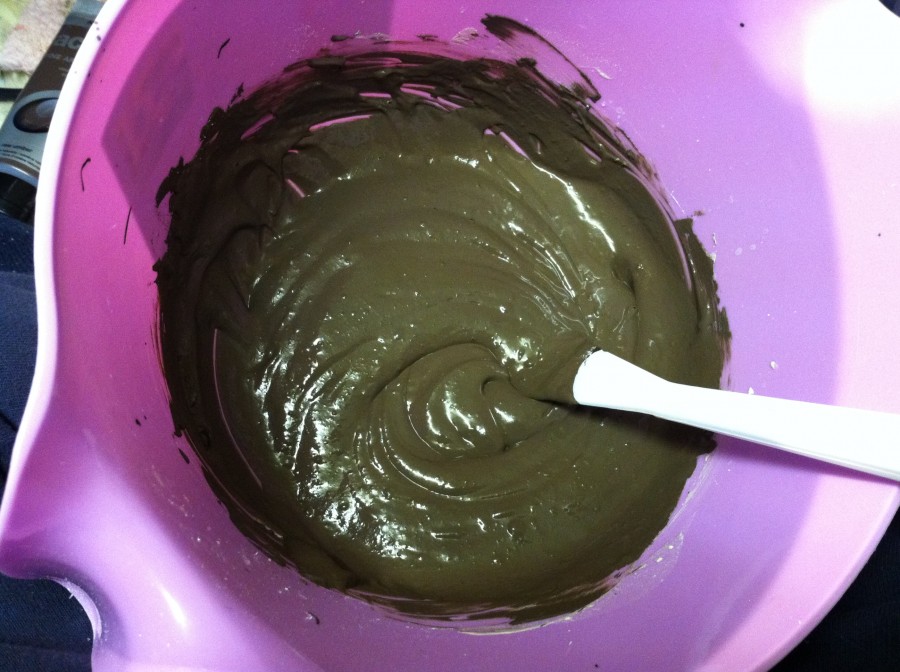
I ordered some water resistent DIY wall filler, a brand “Tetrion” – amazing stuff, giving a smooth and creamy texture. I began mixing that with the brown acrylic paint I bought much earlier. This formed the base for the rest of the groundwork on the diorama.
I spread this mixture all over the lower half of the diorama and, whilst still wet, sprinkled over a dry mixture of filler powder, sand and coarse ballast for a textured earth effect.
After letting this dry for some time I churned up some of the mixture on the base to give it an uneven, natural mud like effect. I sprinkled more dry mixture over the the churned areas.
I let this dry further then, using a toy truck I bought from the pound shop, ran it across the diorama making tracks in the mud.
Once fully dry, I ended up spraying the whole lower half with Chaos Black – despite colouring the mixture brown. Oh well.
With the trusty black undercoat, I separated the tracks from the rest of the diorama using low tack masking tape and airbrushed on a number of different earthy colours. A basecoat of Graveyard Earth and highlights of Desert Yellow and Kommando Khaki are airbrushed on in carefully amounted layers. A wash made of thinned brown and black ink was used to bring out the details in the groundwork (this is where a water resistant filler comes in handy).

Two different coloured mixes of clear casting resin (Woodland’s Scenic Water) was used to create the wet look and puddles in the mud. The impressions from the Sentinel were made whilst the filler was drying. Thin layers of scenic water was used to bring the puddles to height. Be careful, to0 high paint:resin ratio will make the resin dry to a matte finish and not look like water at all. The paint will also dry darker, so making the mixture lighter than you want it is a good idea. The picture below contrasted against one of the finish diorama pictures is evidence to this. The resin was added to other areas of the diorama too, around the fence for instance.
During this stage I also added some additional weathering layers, most notably to the bunker and sandbags. These weather layers we created from suitably coloured Klear mixes – giving the set pieces a wet look to fit with the rest of the diorama.

by on January 23, 2012


