


Making scale windows from scratch is a task that even the most enthusiastic modellers loath – especially when you have to build a bunch of them. It’s fiddly, long and requires lots of precision. Making windows in a jig, then, transforms the process into an enjoyable one.
Here’s mine:

This is all based on Ken Hamilton’s wonderful work, so I can’t take credit for the idea.
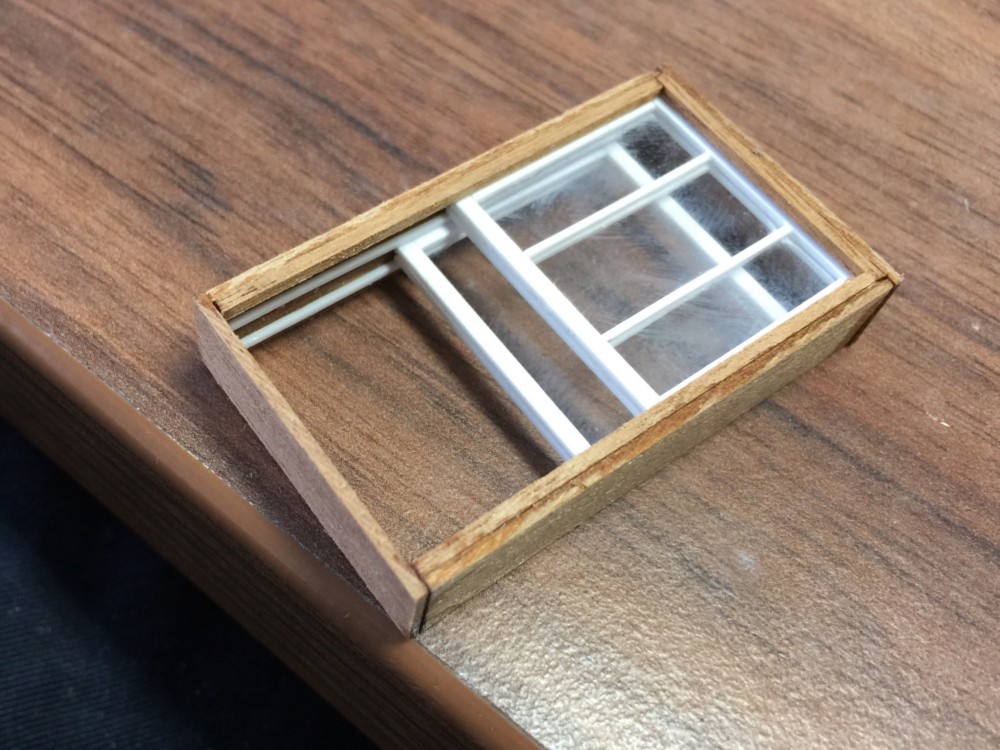
The template on the left builds the frame and the one on the right the window panes.
To build one of these can be a little tricky in itself, but once it’s built it’s done. Using styrene and various bits of wood, I essentially traced the lines I had drawn on the base to build the jig. The only important things to bare in mind when constructing the jig is the height. By that I mean, in the pane jig, the small styrene stoppers can’t be too high because the clear styrene won’t sit properly.
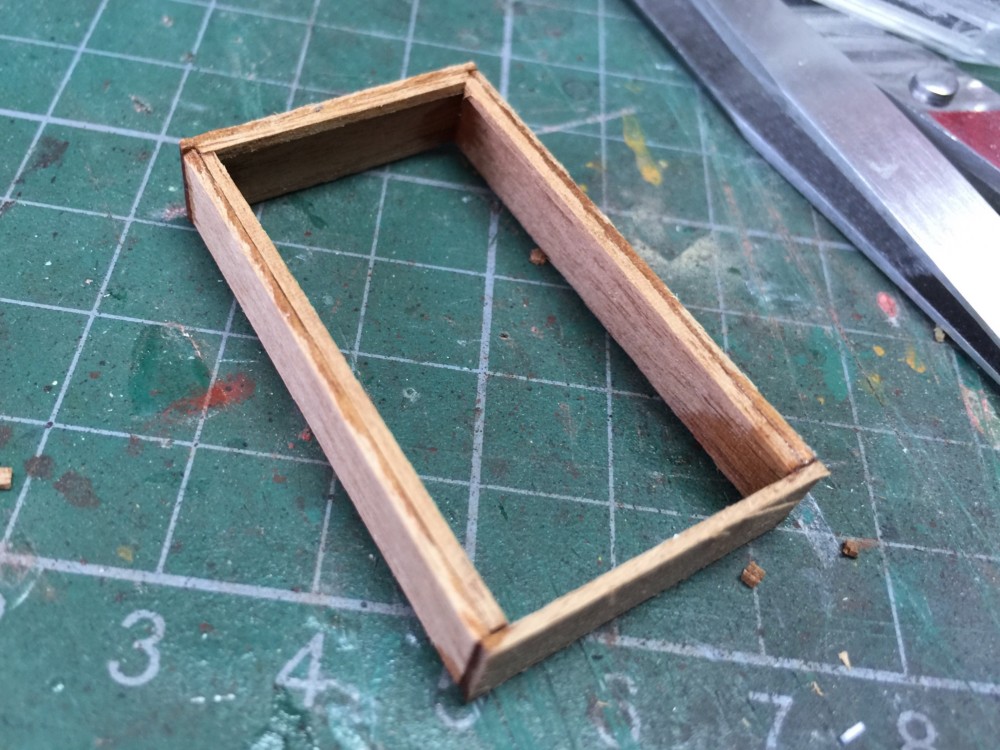
Let me explain with some steps. Here, I’ve used 1x8mm walnut to make the frame. Inside, 1x1mm spruce makes the inside battening. The wood on the inside of the jig, of course, is what facilitates consistency and precision here.

This is the built frame outside the jig (typically it’s not glued this early, but for this sake it has been):

Next, I’m using 0.8×1.5mm styrene to make the sach panes. First I use my marked cutter to make each piece identical in length. It’s vertical piece is 19mm (because it sits on the inside) and the horizontal is 24mm:

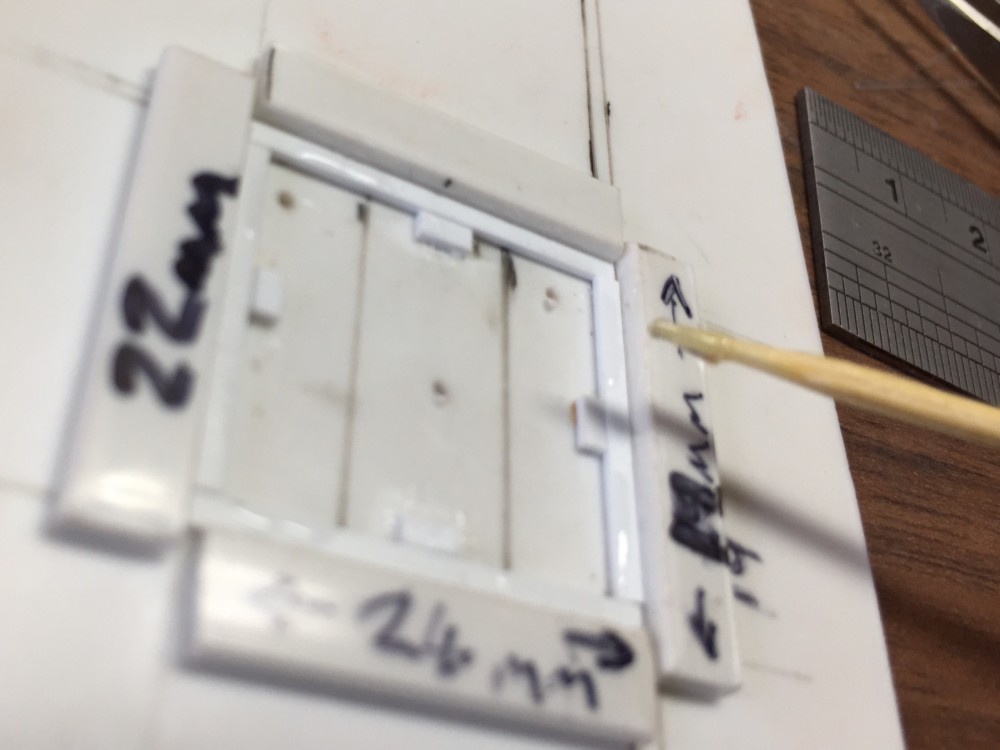
Once each length is in place, I then cut 0.25mm clear styrene as the window itself and glue that on top. Then, another layer of the same lengths to sandwich the clear styrene. That’s the bottom window pane done.
Note: it should be mentioned at this point that removing the built panes from the jig can be tricky and you’ll likely break them at first – especially if the jig has been made too tight. I’ve had to reconstruct mine a whole bunch of times to suit. This is normal though.
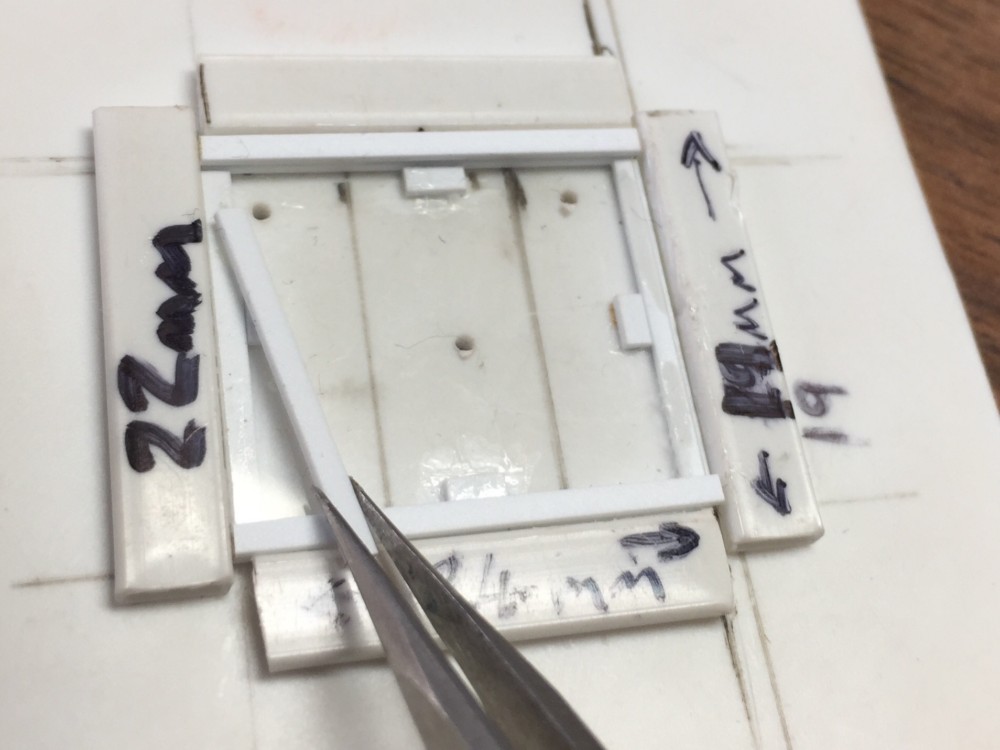
The top pane is made in the exact same way. This time though, HO scale 1×8″ styrene is used for the muntins. Which are those vertical lines in the middle of the pane. Experimentation can be a plenty here. I went with a standard design:

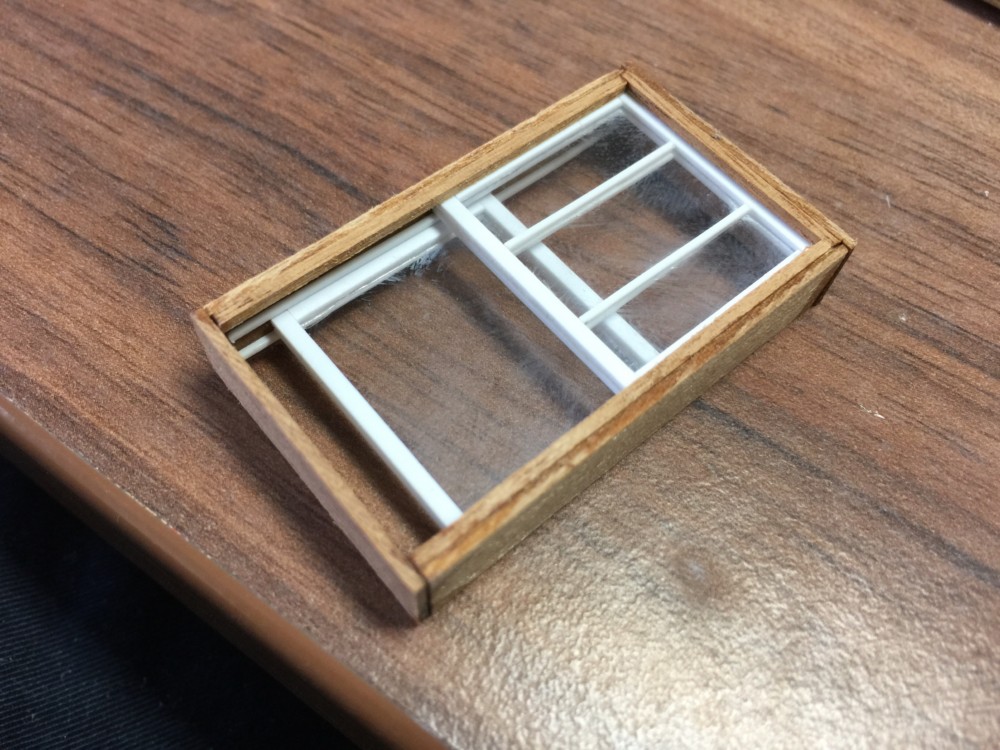
Put the top frame in first, then a runner on either side. Then the bottom pane, with its corresponding runners too. I used 0.5×0.5mm styrene for these:

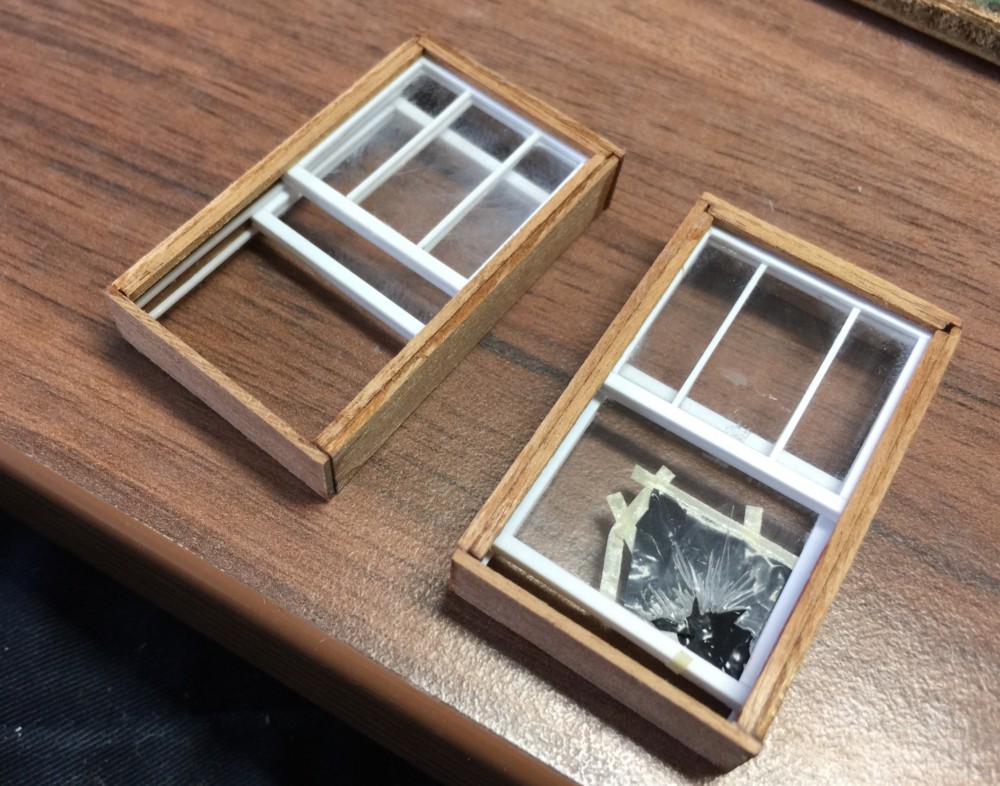
By this point you’ll have scale working each windows that can be opened or closed to your liking:
On one of mine, I’ve carefully cut the styrene to simulate a broken window. On the other side I’ve put a bin liner on the window as if the tenant had tried to seal it:
At first these windows were taking a while to make each one. By the time I was making the third one, I could turn them out within 45 mins. The result speaks for themselves I think, and these would be costly to buy as a kit (if you ever could!)
by on February 4, 2017


