


Every time I look at George Sellios’ F&SM I sit there and just wonder how he did it — especially his signs. They are always so thin you can literally see through them to the wall underneath, making them appear genuinely painted on, just like the real thing.
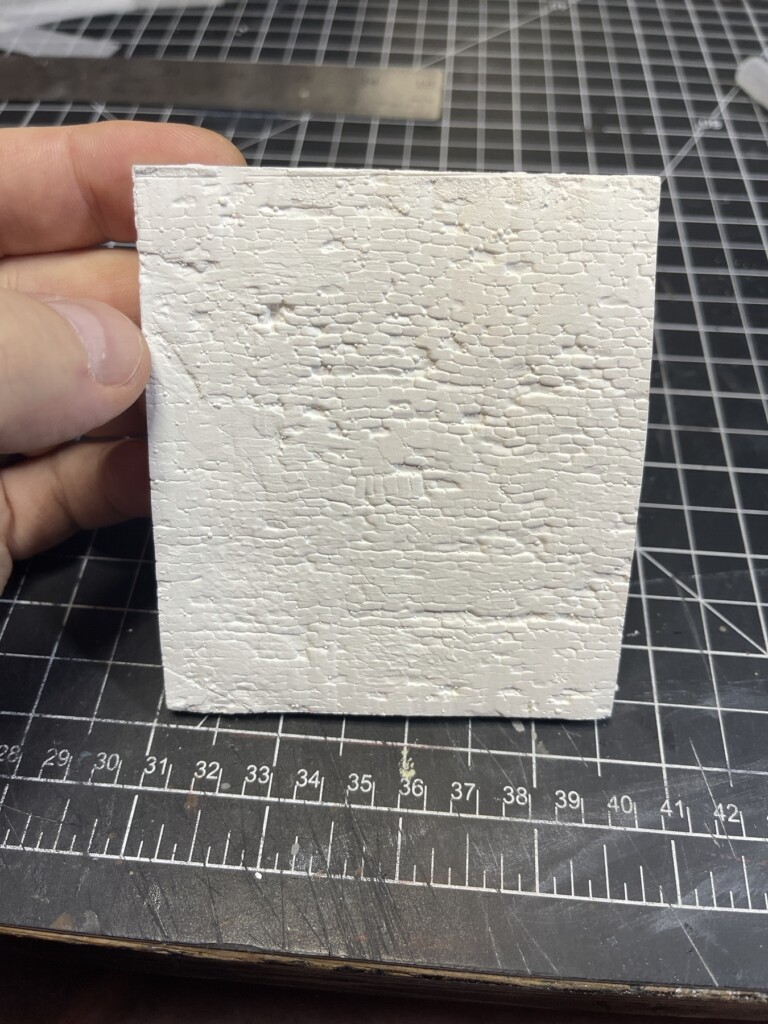
So I set out to test a new method or two. First, I quickly painted up a brick wall I cut in half from Downtown Deco’s excellent street/wall castings. If you are not familiar with these, Randy sells sheets of them via his eBay account at a great price.
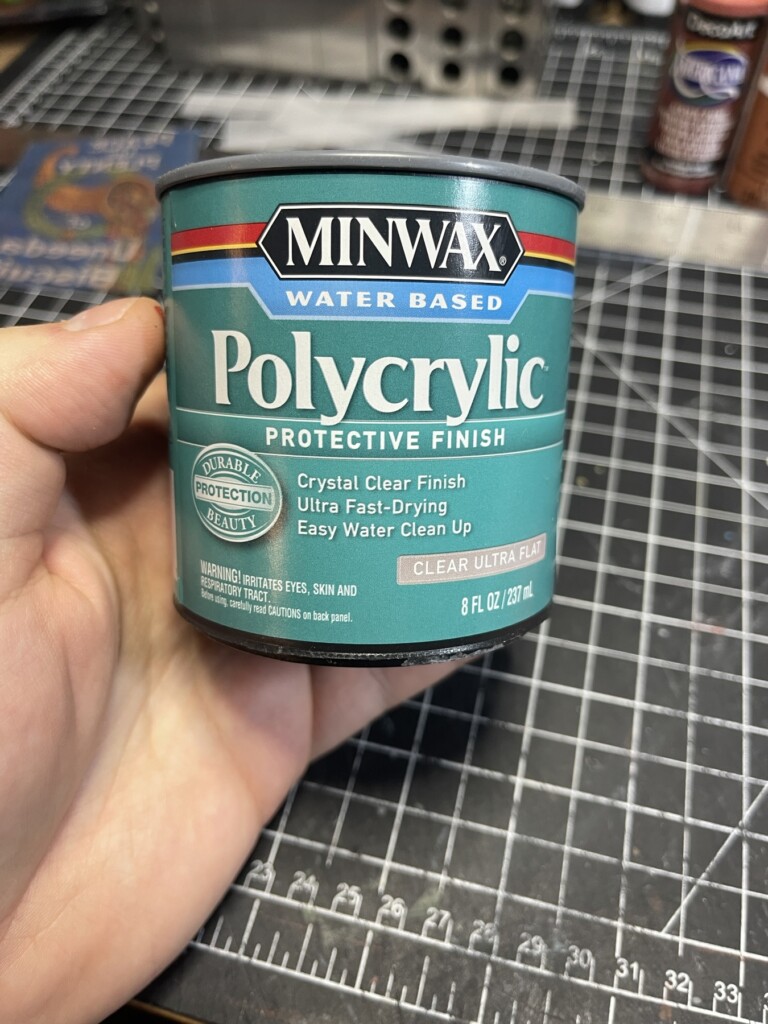
Method #1: Polycrylic.
Essentially, this stuff is a matte sealer. If I had an inkjet printer, I wouldn’t be using it and instead use something like vellum paper or used sticker-back paper to print on. The idea there being the ink doesn’t dry on the plastic surface, allowing you to transfer the image. But I have a laser printer, so Polycrylic is the way to go.
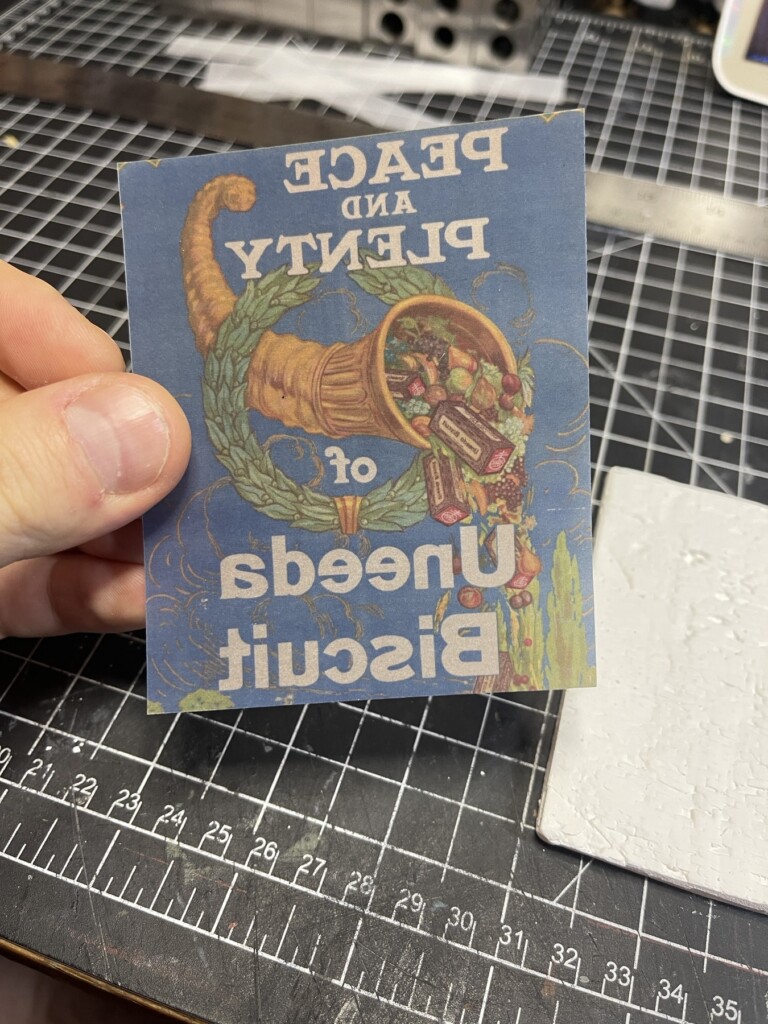
First, I print my sign having flipped the image:
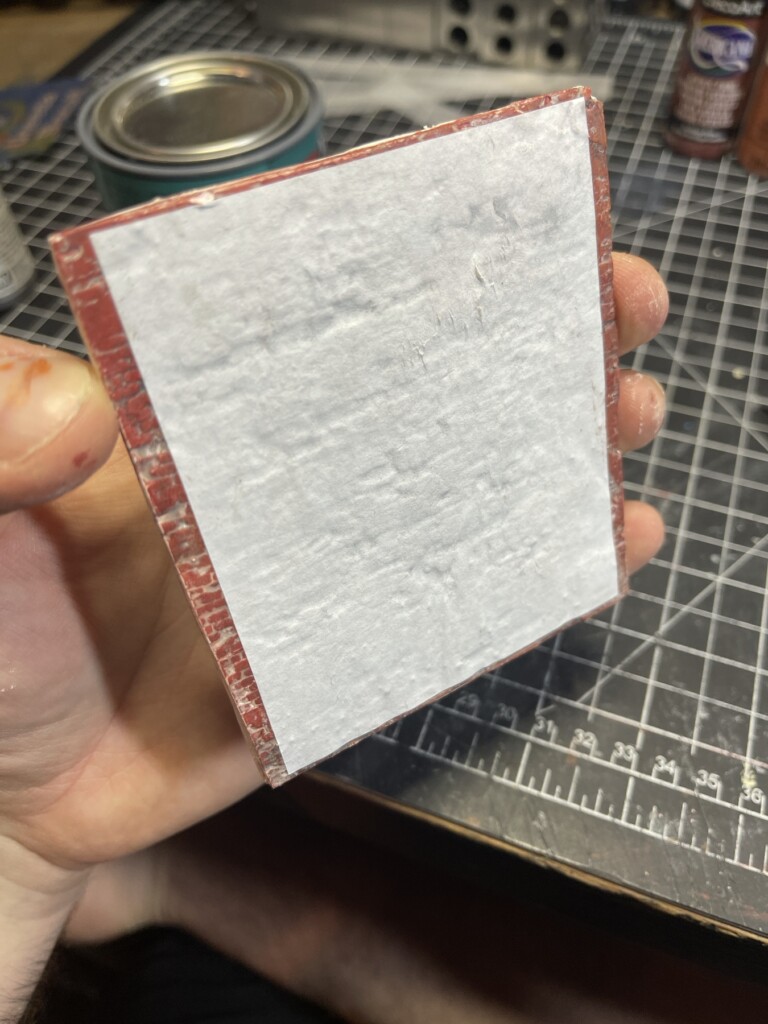
Then, with a liberal coat on the brickwork I quickly stick it face down, and work it over and over using my finger until it’s sufficiently stuck down in place and I can see the brick texture through the backside of the paper:
The can says to let dry for 2 hours, so that’s what I gave it. Now, full disclosure, I messed up my brick work paint job by applying joint compound for the mortar. Not only did it gum up most of the brick texture, it also pulled all the color from the wall. This is a test, so I’m not too put out — but worth noting for future reference.
So, two hours later, and it’s ready to go. I had a cup of warm water by my side and used an old toothbrush to very lightly go over the paper, working it slowly and letting the paper naturally peel away. The toothbrush revealed to be too rough, so I used my finger to keep working the paper, revealing the image underneath.
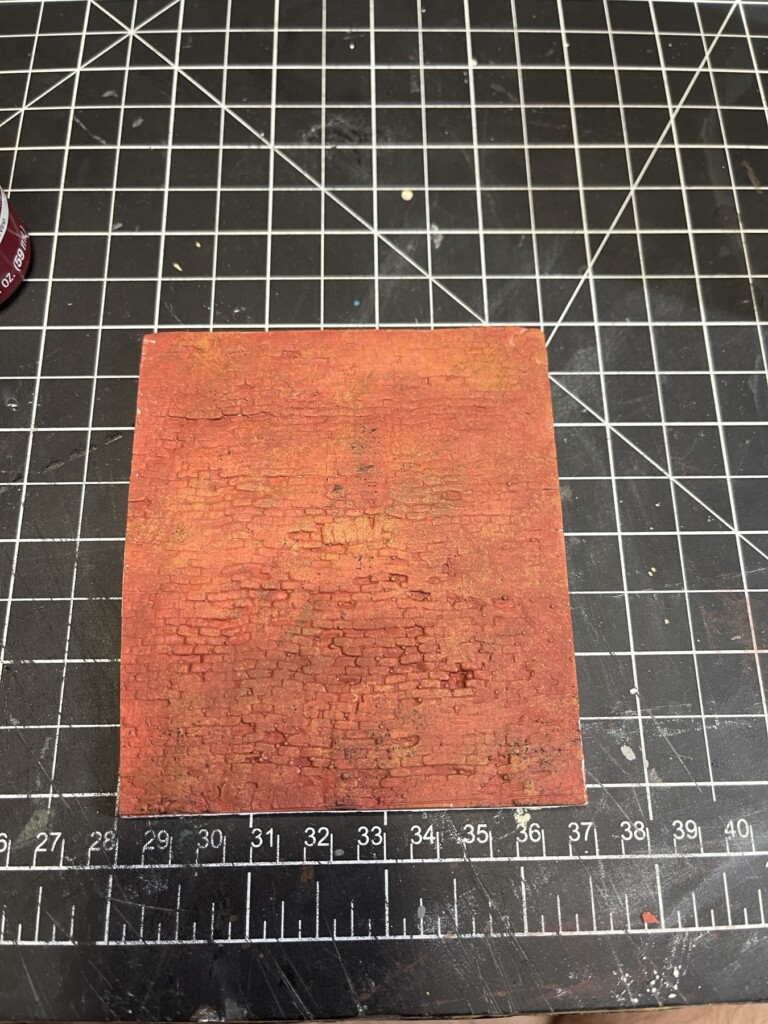
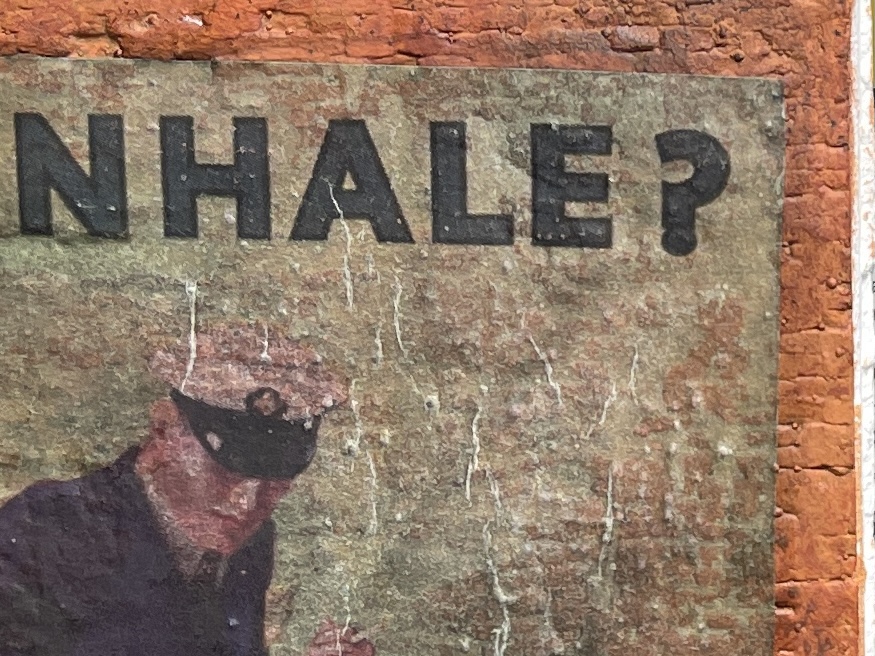
When done, the paper wasn’t entirely peeled so it dried very opaque, making the image transfer cloudy. I coated the wall and sign with Polycrylic again and let it dry for 30 minutes. This is the final product after some pastel chalks:
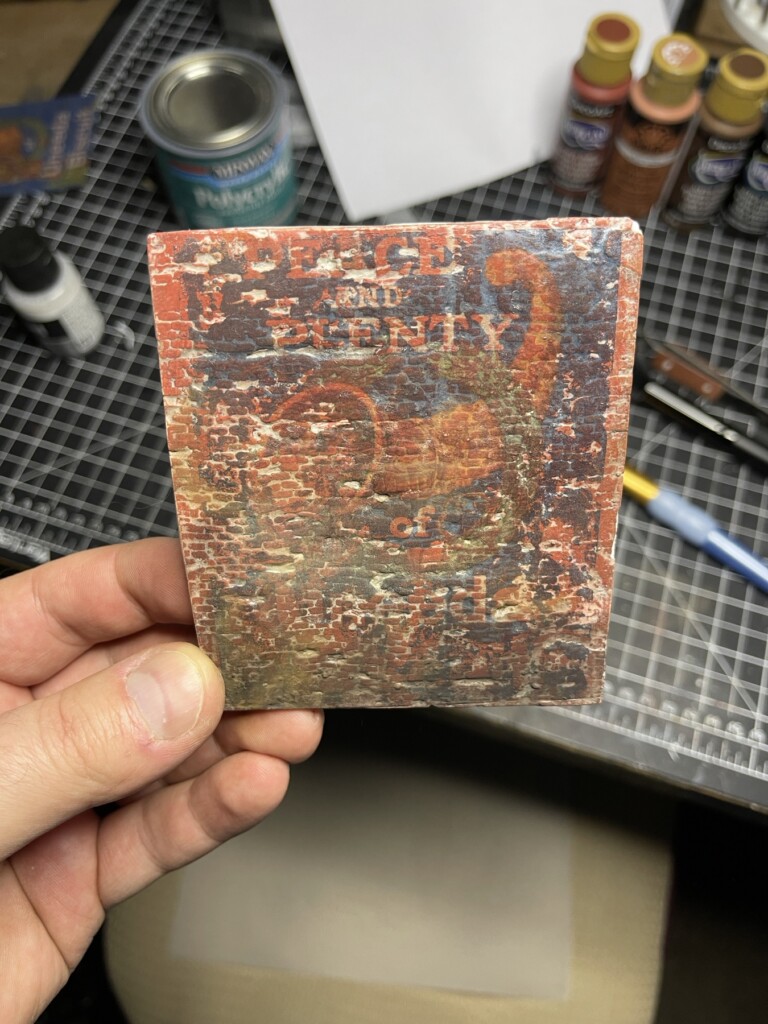
Not great, not terrible. It’s a half decent technique for a very old, hand painted ghost sign that’s as good as illegible. I think it would’ve looked better if: a) I hadn’t messed up the wall with joint compound b) used a wet finger to peel the paper from the start and c) used better paper than cheap copier paper. I’ll try that next time.
I did also test this method on clapboard, and I saw clearer results there:
Next method: thin tissue paper.
I ordered some from Amazon (100 sheets for $10) and braced myself to be on my hands and knees, swearing at the printer as I picked tiny bits of tissue paper from its bowels. Fortunately, it printed without issue.
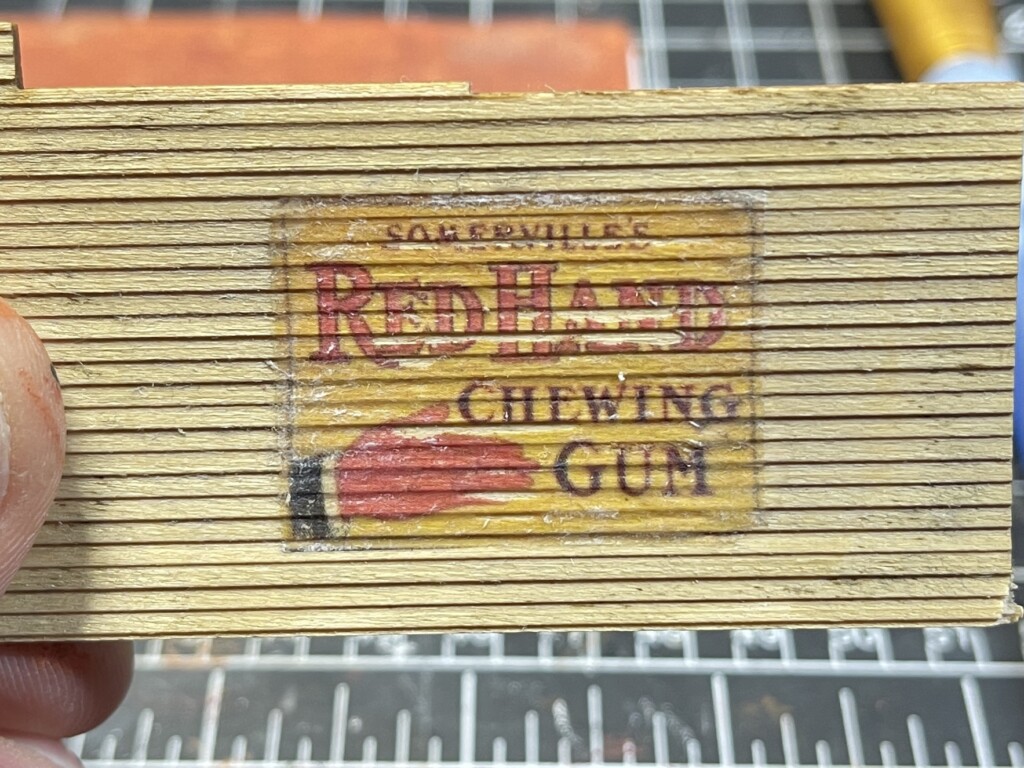
Instead of sanding the back, as per normal methods, this paper is thin enough to apply immediately. The only thing I had to do was work QUICKLY. This is the type of paper that will curl just from the heat of you hand, let alone when it’s wet with glue. After working it on the brick work, though, I used a sheet of parchment to rub the whole sign into the texture. Once dry, I gave it a wash of alcohol and ink. Here’s the result:
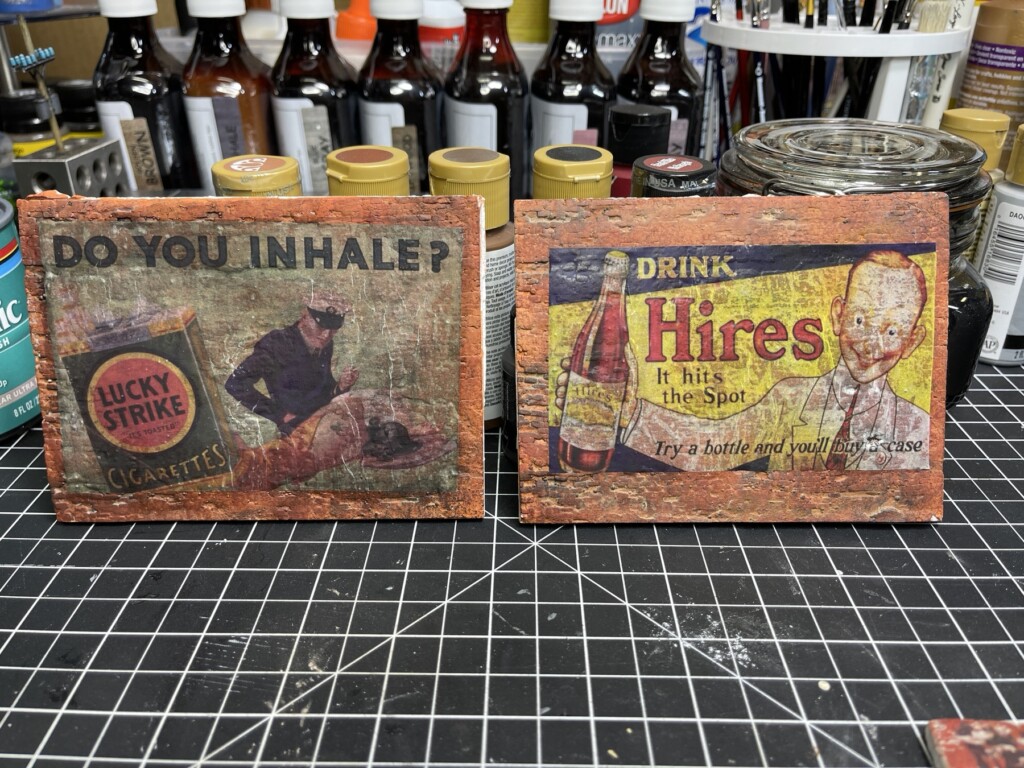
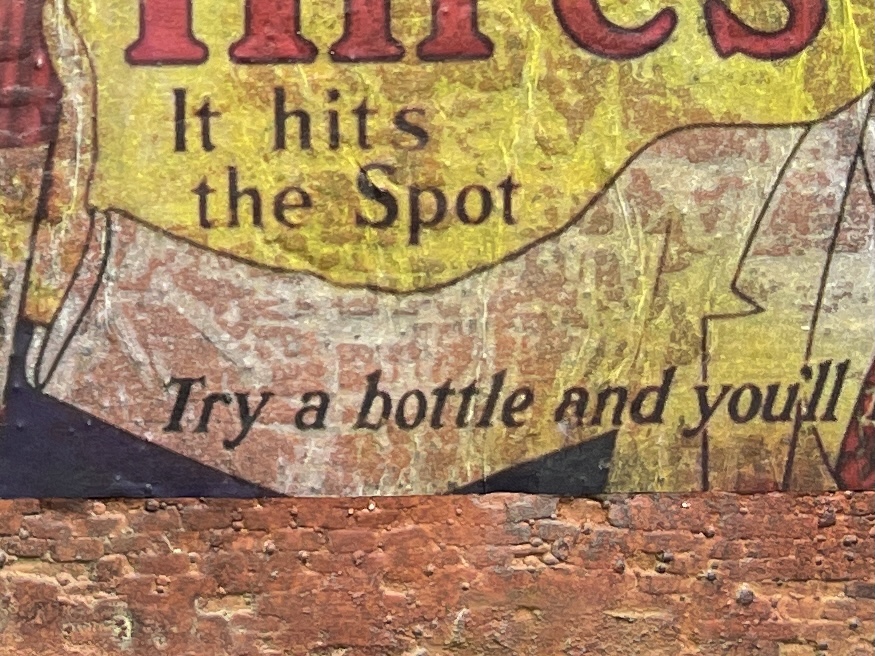
This is pretty decent. It’s transparent enough to see the brick color underneath and requires less work (no sanding) to get it build ready. My only issue with it is it kinda looks wet — as opposed to just thin. It’s still a good result and I will definitely be using this method again. In fact, I’ll likely use both methods again — albeit with the adjustments previously mentioned.
I would be keen to try the inkjet printer method, but alas… I’m not sure I want to buy one just for that. Who knows, maybe I’ll get lucky with a local find.
by on January 16, 2021


