


Note: I’ve detailed this particular process with mistakes and all – an effort to help those considering similar products and applications. Therefore I highly recommend to read it all if you are to take any advice from it.
So, within the past few days the groundwork is nigh-on complete. Which has moved me onto the last couple of stages of finishing this diorama. First up, I completed the repair on the small crater:

I then cut a piece of the same PVC pipe I used to create the through-frame of the diorama as a gate to hold and shape the clear casting resin I will be using to create the pool of collected water:
Inside, PVA glue was painted around the crater’s bottom edge to create a seal between the diorama and the gate. This is a vital step; without it the resin will leak through and cause a big mess… and then a big headache. PVA glue is ideal in this application as it dries clear, doesn’t react with the resin and is easy to manipulate/clean up afterwards.
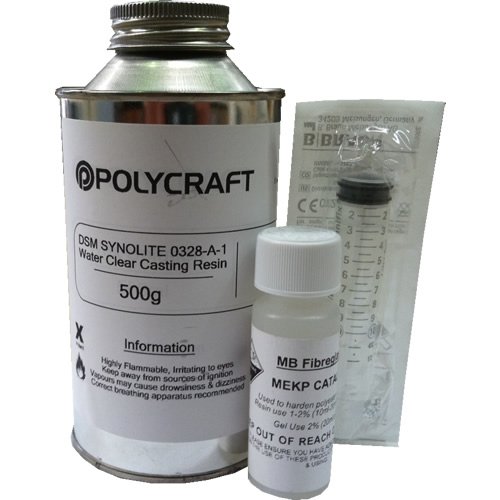
IMPORTANT NOTE: Polyester resin is tricky one to work with. First off, it’s a two-part resin. Which is usually fine as you just follow the manufacturers ratios, whether by weight or volume. The instructions on my resin (above) says 10CC of catalyst per 1KG of resin (volume to weight conversions!) Secondly, it stinks. It’s a very sweet smelling – and very heady. A well ventilated room is necessary when working with it, even in the small amount I was mixing. So if you are doing this at home (which I do), mix and pour indoors then take it all outside to dry. I tinted the resin using appropriate Enamel paint (Humbrol). I used two different shades to achieve this:
Tip: If tinting resin with paints, only use oil-based products (unless otherwise stated). Humbrol’s tinlet range of enamels are excellent for range and price. If you use water-based paints, like acrylics, it’ll cloud the resin as they are water soluble.
Another tip: If you have the gate (the cut piece of PVC pipe) higher than your desired resin level, it’ll dry concave. Make sure it’s level it you want a flat surface folks.
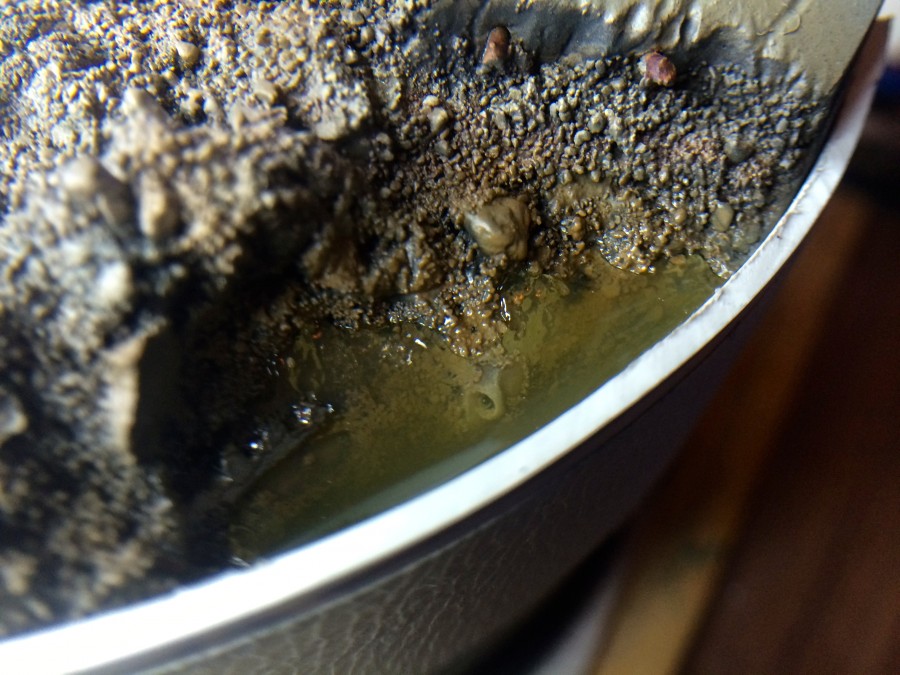
The result?
The surface never dried. Even after 3 days. It’s supposed to remain a little tacky, allowing for more layers to be poured – but I came to realise that polyester resin just isn’t suited to this particular application. Given that, again, the majority left in the mixing cup hardened perfectly I have inferred that polyester resin has difficulty drying in such small amounts, as it doesn’t have the mass to heat up sufficiently (it drys by a heat inducing chemical reaction).
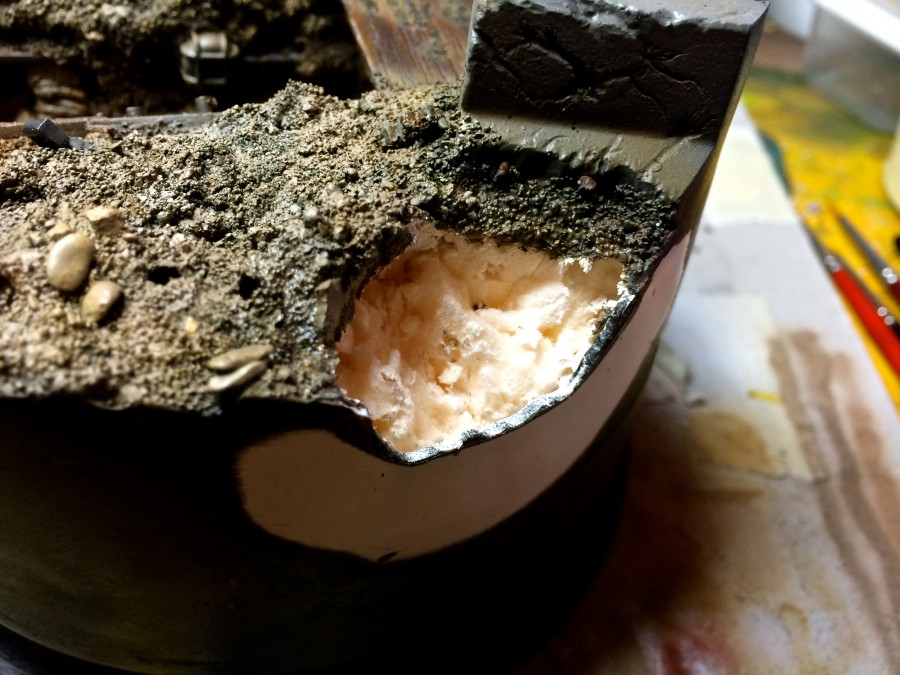
I give up the ghost working with polyester resin for this little crater. I scoop it out and repair the crater AGAIN. 3rd time now making this crater and, for the record, repairing involves starting from here:
I then purchased this stuff:
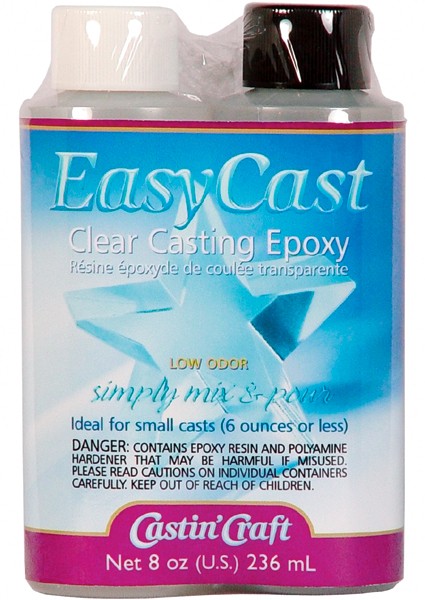
It’s an epoxy resin, which is more suited to small jobs. And it’s low odour! For the record, polyester resin is great for larger projects (within manufacturer’s limitations!)
The only trouble is it’s an American product, so I had to wait a week for it to get here. When it did I began work almost immediately. Mixing this stuff is very easy. It’s by volume (1:1 ratio), so a quick (albeit exact) measurement is all that’s needed. As with the polyester, the epoxy resin was tinted with enamel paints. Enamel’s go a VERY long way in resin, especially this EasyCast stuff, as it’s a lot more liquid than polyester.
Here it is drying (additions made after photo taken – final shots soon):
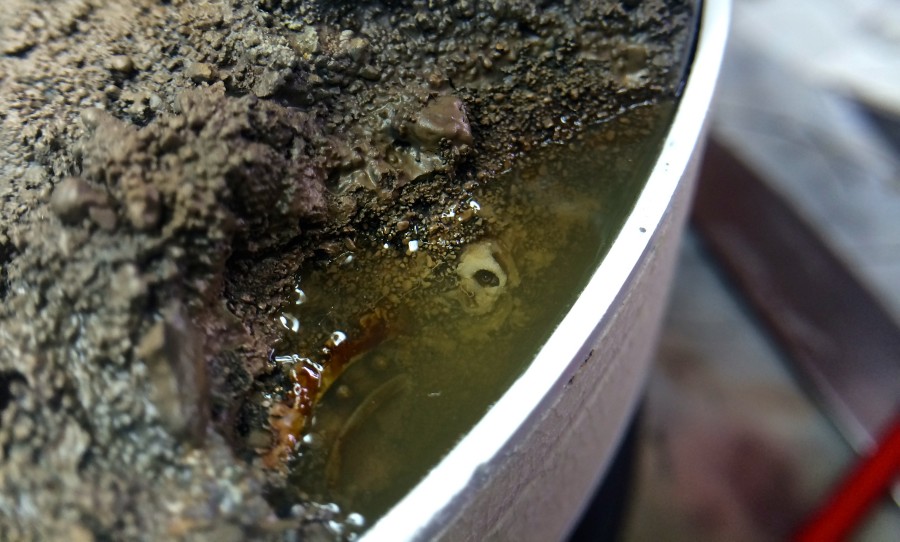
Results soon.
by on May 21, 2014


